


The number of solar installations in the United Kingdom has doubled within the last year and is set to double again before 2030. This dynamic growth is creating an ever-increasing demand for technicians who know how to troubleshoot PV systems efficiently and effectively. Clamp meters are often used in the installation and commissioning phase as well as when completing maintenance and troubleshooting.
Hans-Dieter Schuessele, Application & Technology Expert EMEA of Fluke says: “The transition to using renewable energy is accelerating and it’s critical that installers and maintenance staff have access to the right instruments to not only get solar farms online fast but can keep them working at peak performance. As the world’s first solar clamp meter to offer a CAT III rating at 1500 V, the Fluke 393 FC allows technicians to work safely while ensuring the use of solar energy has a bright future.”
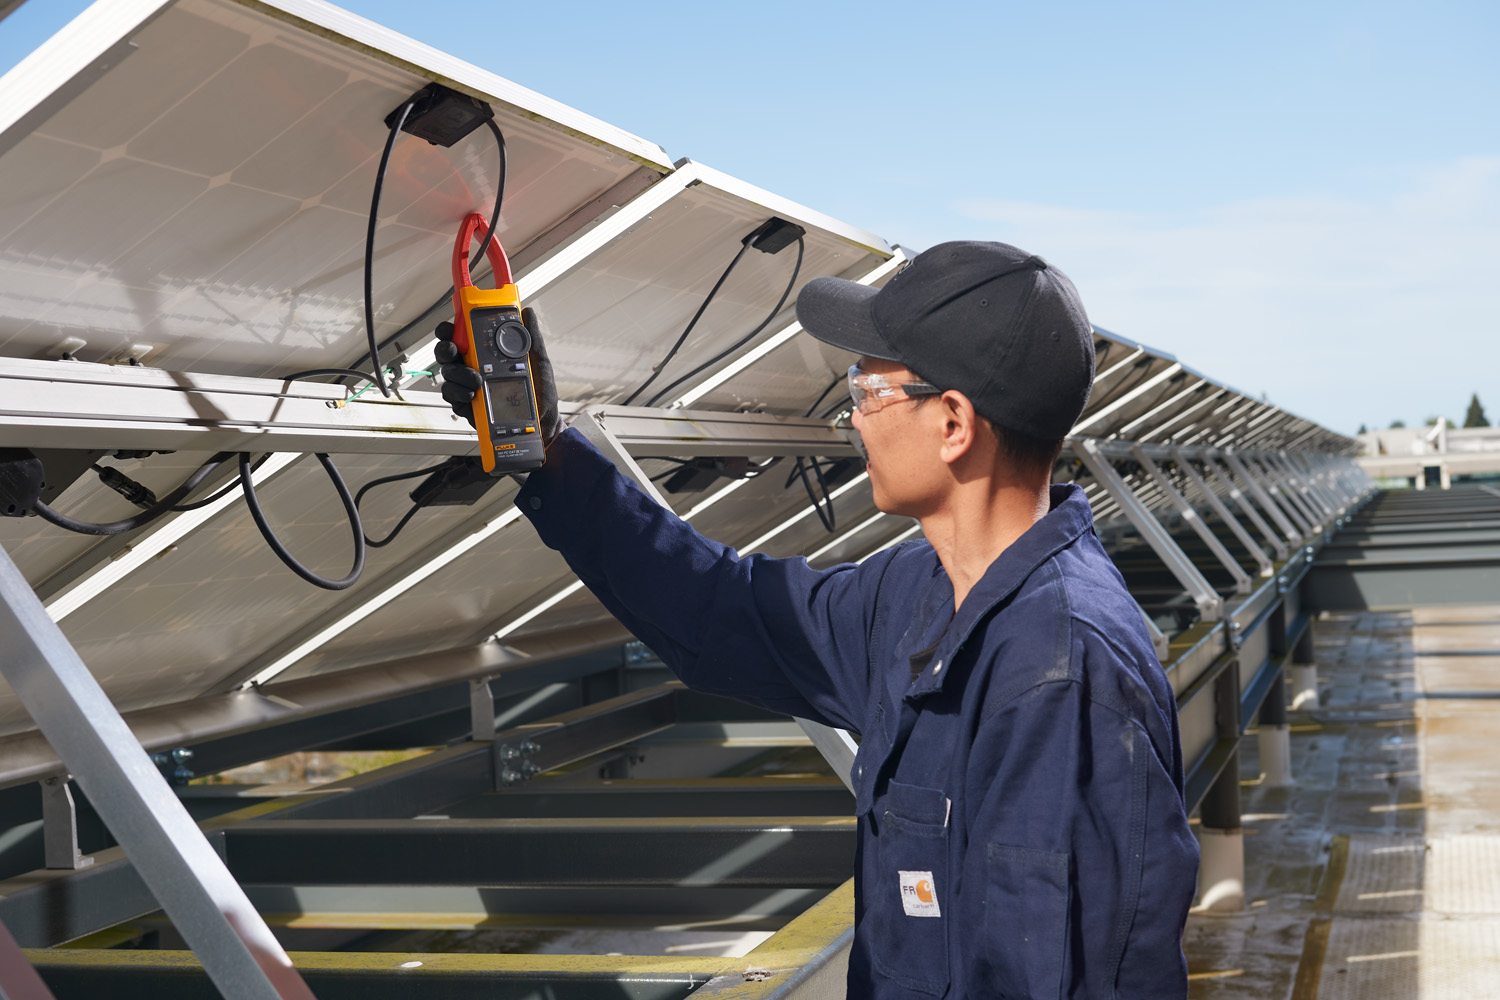
As solar distribution systems and loads become larger and more complex, the implications for the safety of a technician become more important. It is critical for technicians to understand the level of protection built into a tool and how to use it when completing maintenance and troubleshooting. According to Fluke, troubleshooting a PV system typically focuses on four parts of the system: the PV panels, load, inverter and combiner boxes.
1. Troubleshooting PV panels
A technician should first check the output of the entire system at the metering system or inverter. Before commencing troubleshooting, also check and record the inverter’s input voltage and current level from the array.
The combiner box can be a great place to troubleshoot the system because the individual wires from the modules are brought back to it. Wiring problems and loose connections may cause a module to produce a voltage that is too low.
2. Troubleshooting PV loads
Start by checking the load switches, fuses, and breakers to see if the correct voltage is present at the load’s connection. Next, check the fuses and circuit breakers. Find and replace blown fuses or tripped breakers. If the load is a motor, an internal thermal breaker might be tripped or there might be an open winding in the motor.
As with any electrical system, check for broken wires and any loose connections. Clean all dirty connections and replace all bad wiring. With the power off, check for and repair any ground faults. If any fuses blow or breakers trip again, there will be a short that will need to be located and repaired.
3. Troubleshooting PV inverters
The inverter converts DC from the PV system into AC power for building use. For troubleshooting the AC side, check the inverter’s output voltage and current levels. Many of these systems have a display that indicates current inverter and system performance.
If the inverter does not produce the right amount of power, there may be a blown fuse, tripped breaker or broken wires.
4. Troubleshooting combiner boxes
When troubleshooting combiner boxes, amperage measurements and calculations are crucial to establishing whether the PV arrays are operating correctly. Measuring current on individual arrays or combining current measurements will help determine if a module has malfunctioned.